
Regaining hand strength after carpal tunnel surgery can feel slow, but it’s doable if you start with gentle movement, use nerve glides and finger exercises, and only ramp up when your surgeon or therapist says it’s safe. Take it easy at first, listen to your body, and add resistance little by little—rushing things can really set you back.
For weeks, you’ll mostly be focused on gentle movement and scar care before you get to the “real” strengthening. This guide breaks down what to do right after surgery, which exercises actually help, and how to spot when you can push a bit more—so you don’t undo your progress.
This article walks through what to do in the early days, shows practical strengthening exercises you can use as you heal, and explains simple ways to support recovery so your hands return to normal tasks.
Early Recovery Guidelines
At first, it’s all about protecting the incision, keeping swelling down, and starting gentle finger and wrist movement. Your surgeon’s advice on splints and activity limits is gold—don’t improvise here.
Initial Rest and Immobilization
Keep your hand up above your heart for the first couple days. Use pillows to prop it up and cut down on swelling and bleeding.
Stick with the splint or dressing exactly as you were told. Don’t mess with sutures or bandages unless your care team says so. If your splint gets wet or gross, call the clinic—don’t just wing it at home.
Avoid heavy lifting and strong gripping for a few weeks (2–6 is common), but light stuff like typing or eating is usually fine unless it hurts. Watch for any signs of infection—redness, pus, fever, or pain that’s getting worse—and call your provider if you spot them.
Managing Swelling and Discomfort
Ice helps a lot in the first couple days: 15–20 minutes every few hours. Always use a cloth between the ice and your skin (nobody wants frostbite on top of this).
Take pain meds as directed, whether prescription or over-the-counter (but double-check with your doctor first). If you’re drowsy, don’t drive.
Keep an eye on your fingers—if they’re going numb, pale, cold, or super swollen, get checked out right away.
Safe Hand Movements
Unless told otherwise, start gentle finger bending and straightening the day after surgery. Do about 10 reps an hour while you’re awake—just enough to keep things moving.
Don’t start wrist motion until you’re cleared. Go slow, keep it pain-free, and absolutely stop if you get sharp or worsening pain. Save heavy gripping or pushing/pulling until your therapist says you’re ready.
If you’re given nerve-glide exercises, do them as shown—these can make a big difference in scar tightness and nerve mobility. Short, consistent sessions are better than marathon ones. Jot down your progress for your follow-ups.
Hand Strengthening Exercises After Carpal Tunnel Surgery
You’ll start with gentle movements, then rebuild pinch and grip, and only add resistance when your wrist is ready. Always check with your provider before trying anything new—there’s no prize for pushing through pain.
Gentle Range of Motion Exercises
If your doctor says it’s okay, start these 1–2 days after surgery. Keep sessions short (5–10 minutes) and repeat every couple hours.
- Wrist flexion/extension: With your elbow bent and palm down, slowly bend your wrist up and down. Ten reps is plenty.
- Wrist radial/ulnar deviation: Move your wrist side to side—again, about 10 reps.
- Finger bends: Make a fist, then open your hand wide. Do this 10–15 times.
- Thumb opposition: Touch your thumb to each fingertip, holding for a second or two at each.
Keep it slow and don’t force anything. If you get more swelling after exercise, ice and elevate. Redness, drainage, or severe pain? Call your provider.
Grip and Pinch Strength Activities
Once you’re healed enough—usually 2–6 weeks in—add these, but only with your surgeon’s green light. Aim for short sets 3 times a day.
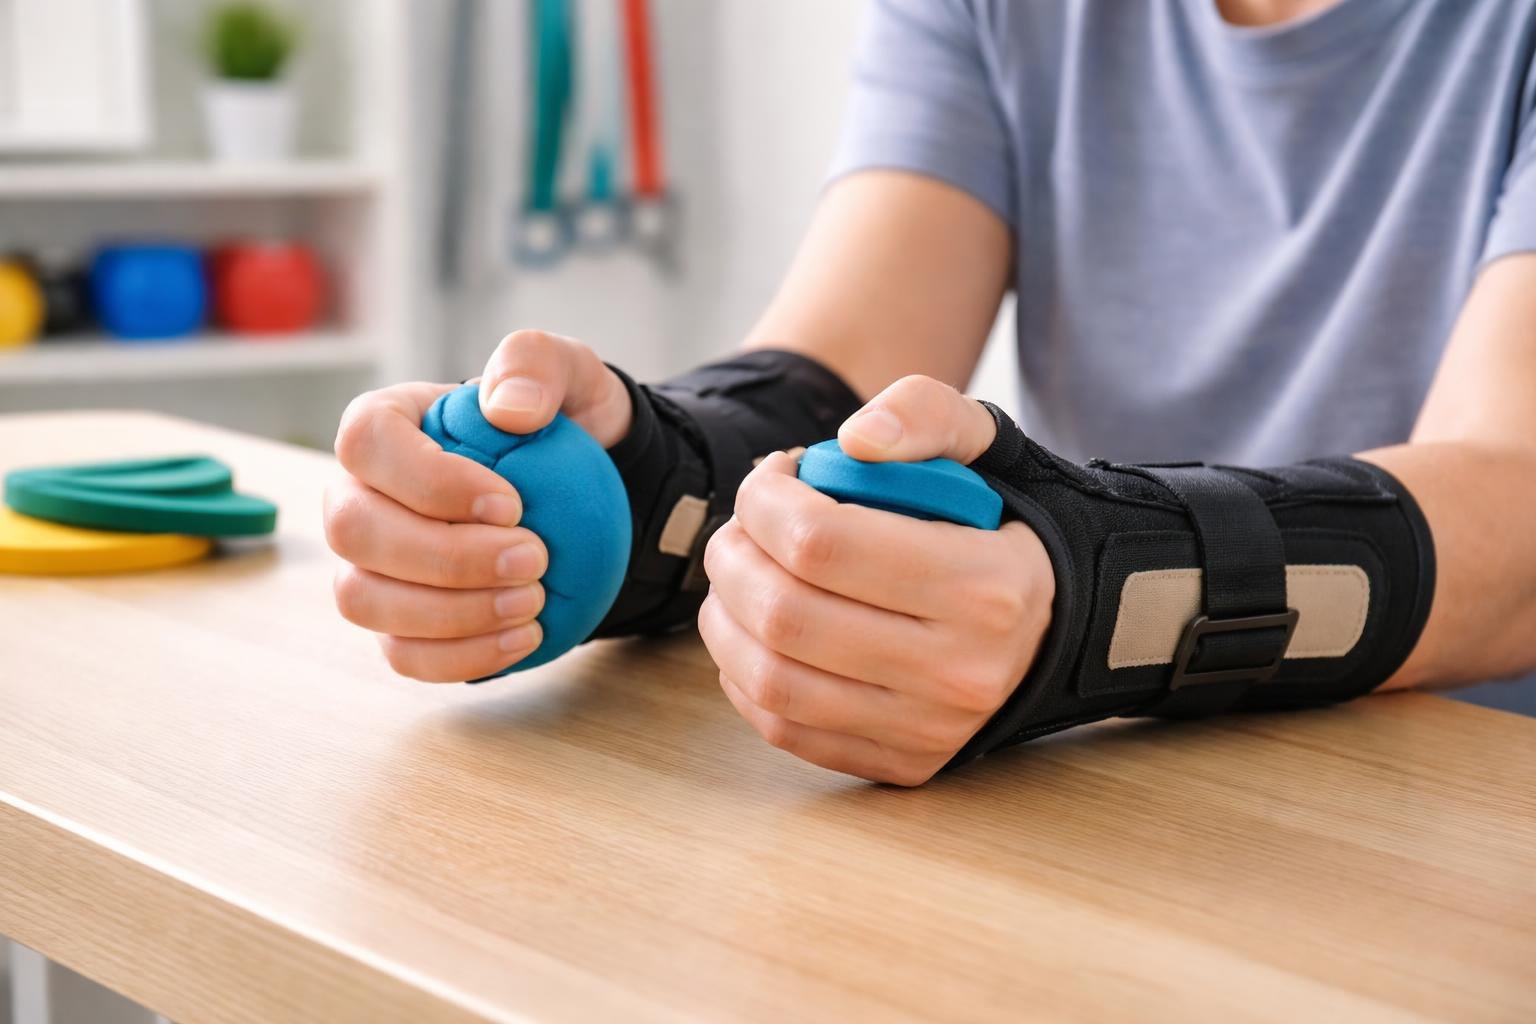
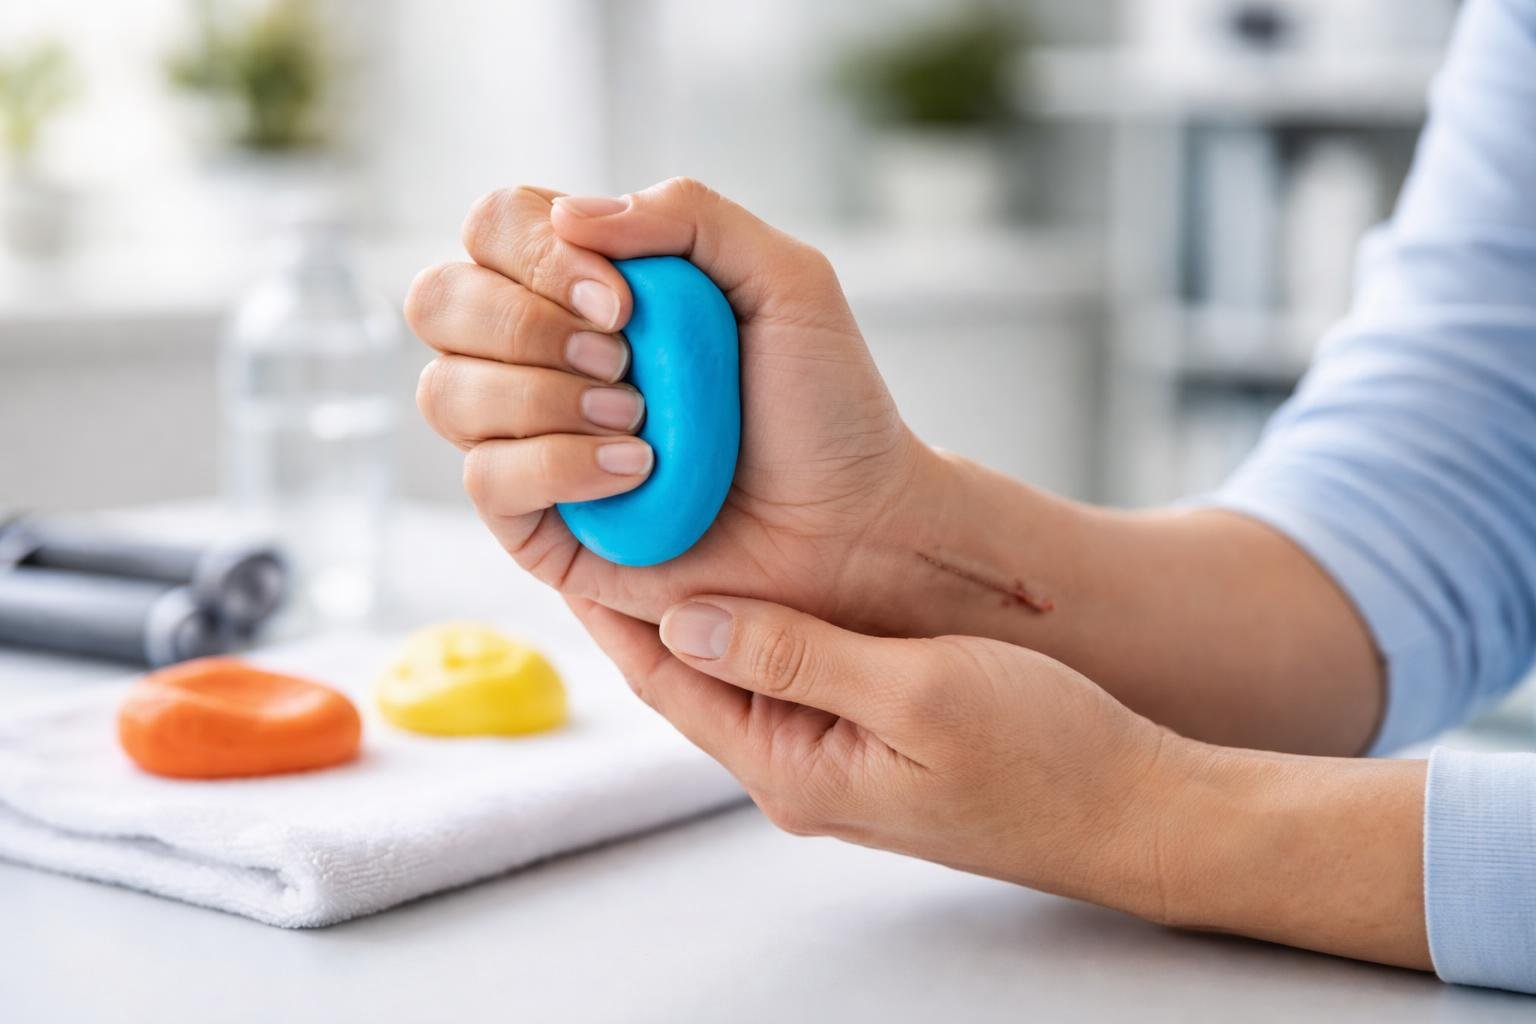
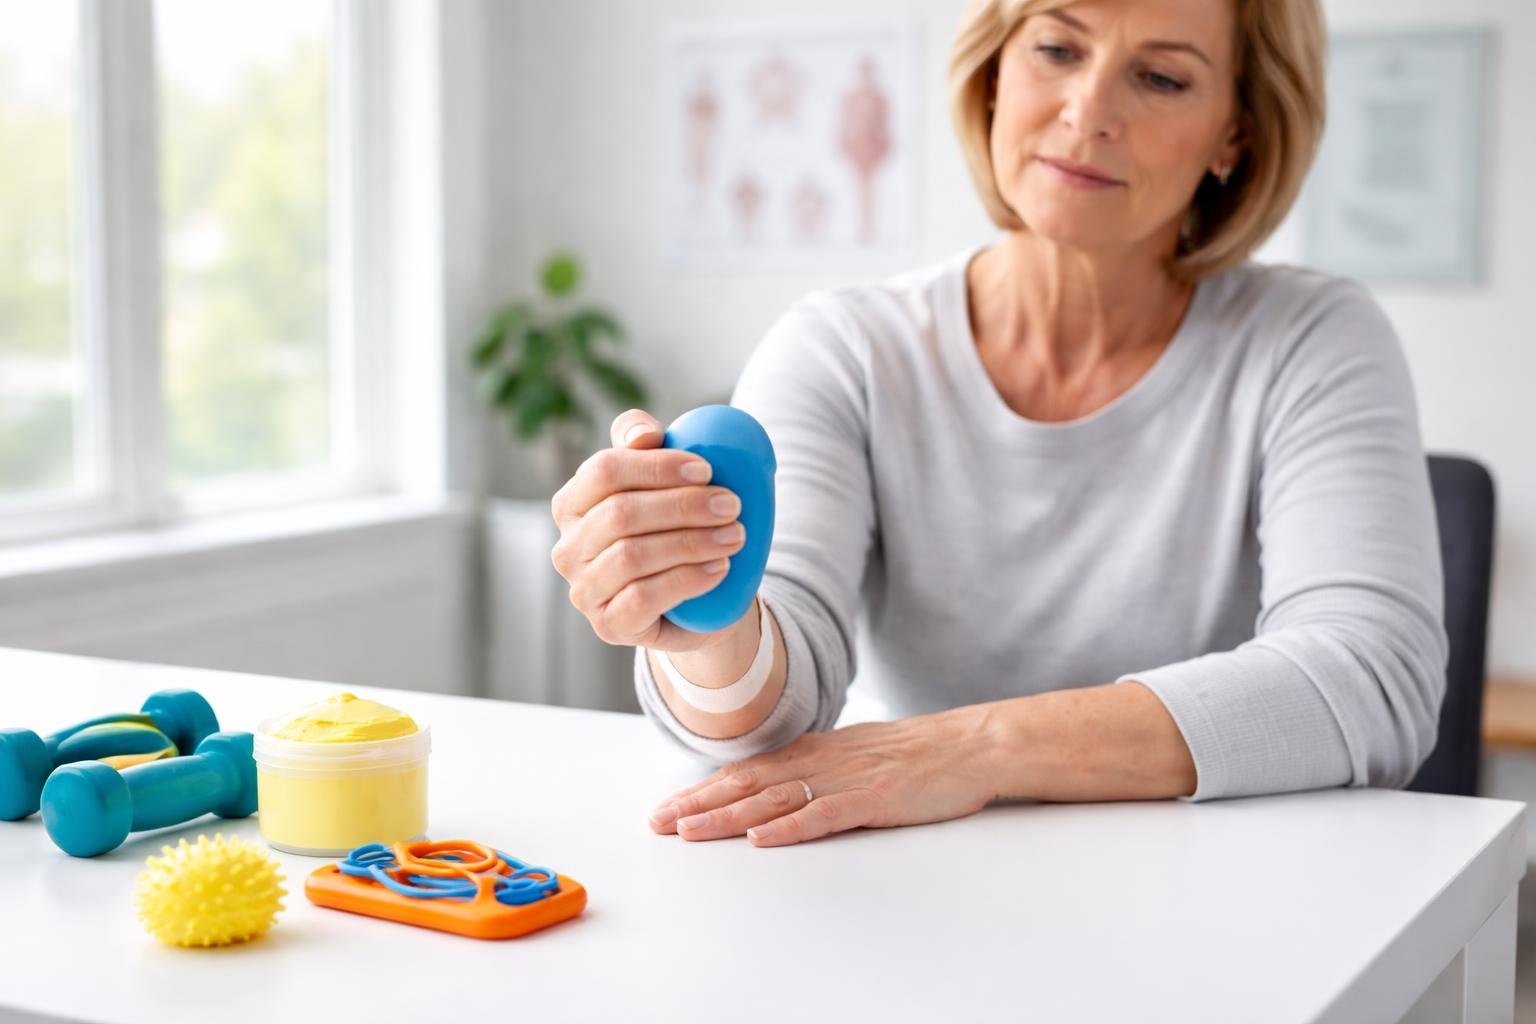
- Squeeze ball: Use a soft sponge ball. Squeeze for 3–5 seconds, then relax. 10–15 reps.
- Pinch work: Pinch a folded towel or putty between your thumb and index finger for 5–10 seconds. Do 8–12 times.
- Cloth wringing: Twist a towel like you’re wringing it out. 8–10 reps each way.
- Functional practice: Open jars, button shirts, pick up coins—real-life stuff. Start easy, ramp up as you can.
Quality over quantity. If you notice numbness or sharp pain coming back, back off and check in with your therapist.
Progressive Resistance Techniques
Don’t add resistance until you can do all the basics pain-free. Increase the load slowly, week by week.
- Therapy putty: Begin with soft putty, work up to firmer grades. Pinch, spread, roll—2–3 sets of 8–12 reps.
- Hand grippers: Start with light resistance. Squeeze and hold for 2–3 seconds. Only move to stronger grippers when you’re ready.
- Weighted wrist curls: Use a light weight (half to two pounds). Rest your forearm on a table, palm up for curls, palm down for reverse curls. Do 2 sets of 10–15.
- Progressive plan: Bump up resistance every week or two if it’s not hurting.
Keep track of your weights, reps, and any symptoms. If things start to hurt, swell, or tingle, stop and talk to your provider.
Supporting Hand Recovery
Day-to-day, stick with your therapy plan, eat foods that help healing, and use tools that ease strain so you can get back to work and life without setbacks.
Incorporating Occupational Therapy
Occupational therapy (OT) is super helpful for tailoring exercises to your real life. Your therapist will check your grip, range of motion, and fine motor skills, then lay out a plan so you’re not just guessing what to do.
Expect some hands-on work (like scar massage or joint glides), plus a mix of nerve glides, finger exercises, and, eventually, resisted gripping and pinching. Stick to the plan—usually 2–3 times a day at home—and bring up anything that’s not working or feels off.
If your job or hobbies need tweaking, ask for modifications. It’s better to adapt now than risk a setback.
Nutrition and Hydration for Healing
Don’t underestimate nutrition—it really does matter. Focus on protein (think chicken, fish, beans), vitamin C (citrus, bell peppers, strawberries), and zinc (nuts, seeds). Water helps too; aim for about 8 cups a day, spread out.
Skip the cigarettes and go easy on alcohol—both slow down healing more than people realize. If you take supplements, let your care team know. Aiming for 20–30 grams of protein per meal and a few servings of colorful fruits and veggies is a solid approach.
Conclusion
Recovering hand strength after carpal tunnel surgery isn’t exactly a straight line, but with patience, smart exercises, and the right tools, you’ll get there. It’s tempting to rush, but honestly, slow and steady is the way to go—your hands will thank you later. If you’re looking for something to help with your grip and fine motor work, the WONODA FlexEx Hand Exerciser is worth checking out. It’s designed for safe, progressive strengthening and fits right in with the exercises and routines mentioned above. Stick with your plan, listen to your body, and don’t hesitate to ask for help. You’ve got this.
Ergonomic Tools and Adaptive Devices
Honestly, it’s worth picking up tools that make life a bit easier on your hands—think padded or chunkier handles on utensils, jar openers that don’t require a wrestling match, or an ergonomic mouse that actually feels comfortable after an hour. These tweaks can really lower the strain you feel during everyday stuff.
Work setups matter, too. Adjust your chair so you’re not constantly reaching or hunching, and try to keep your wrists in a neutral spot. Trust me, it’s tempting to lean on those wrist rests all day, but they’re really just for quick breaks, not for marathon typing sessions.
For home, little gadgets can go a long way: a button hook makes getting dressed less of a hassle, a reacher saves your back, and silicone grips turn slippery pens into something you can actually hold. If you’re unsure what fits your routine or your hands, your OT can point you to specific products and might even let you test them out first.
And if you’re looking for something a bit more active to help strengthen your grip and keep your hands moving, the WONODA FlexEx Hand Exerciser is worth checking out. It’s one of those small tools that doesn’t look like much, but can actually make a noticeable difference if you use it regularly. Sometimes, it’s the little things that help you hang on to the in